Navigating ClearCompany Dashboards
# Netchex - Dashboard
1. Log into Netchex and click on the CUBE.
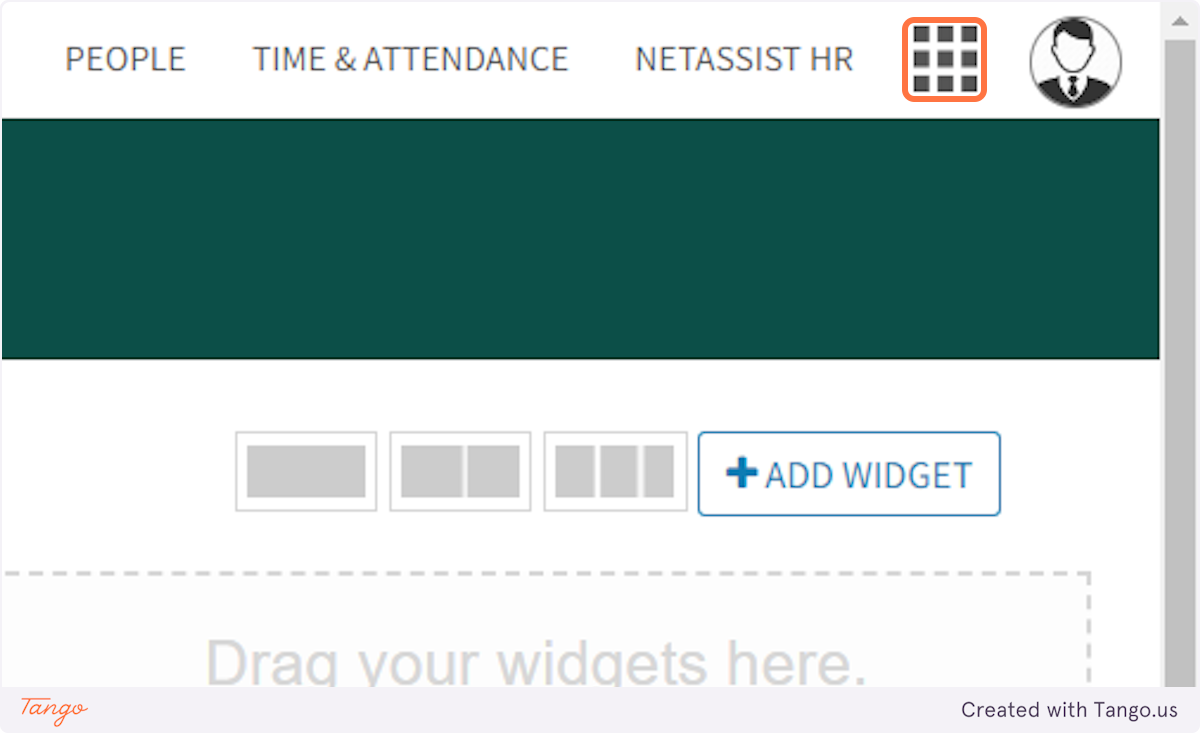
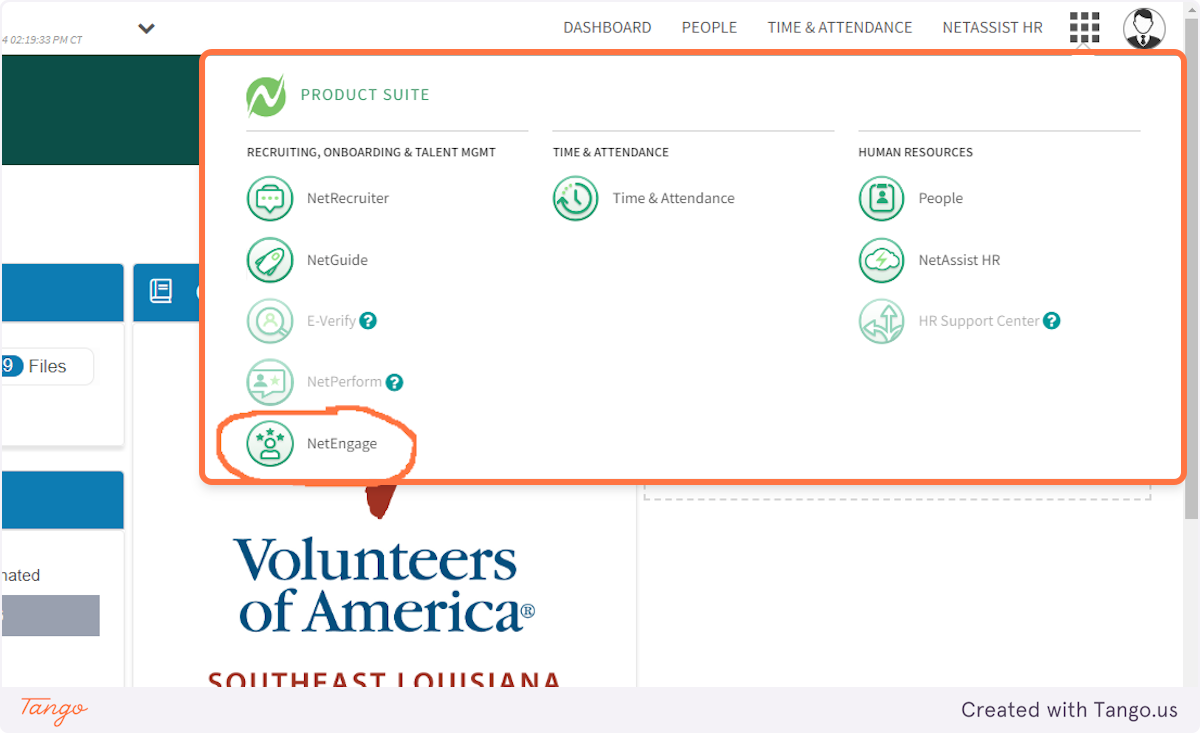
2. Click on NetEngage
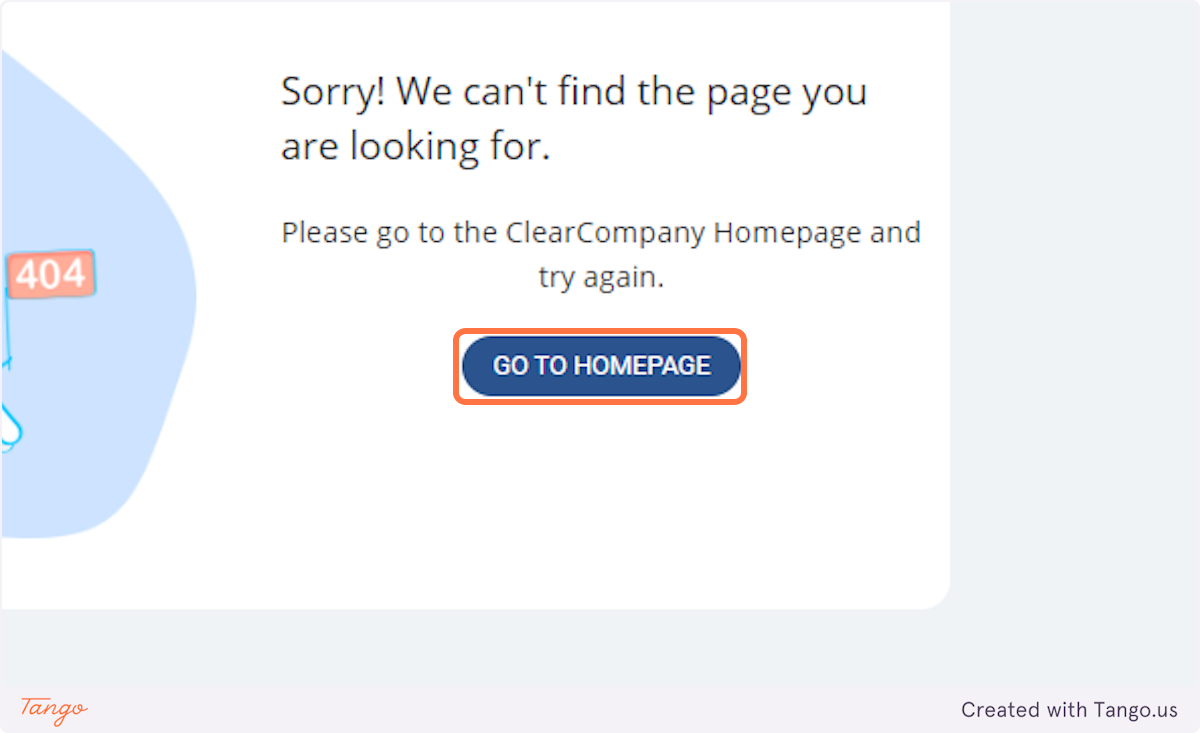
# ClearCompany "may" give an error. Please click on GO TO HOMEPAGE.
3. Click on GO TO HOMEPAGE
4. This is your Dashboard.
On your Dashboard, at a glance, you can review your Goals, One-on Ones, Performance Reviews, Tasks, Files, Private Notes, Collaborators, and activities going on throughout the agency. Next, we will review the links on the Dashboard.
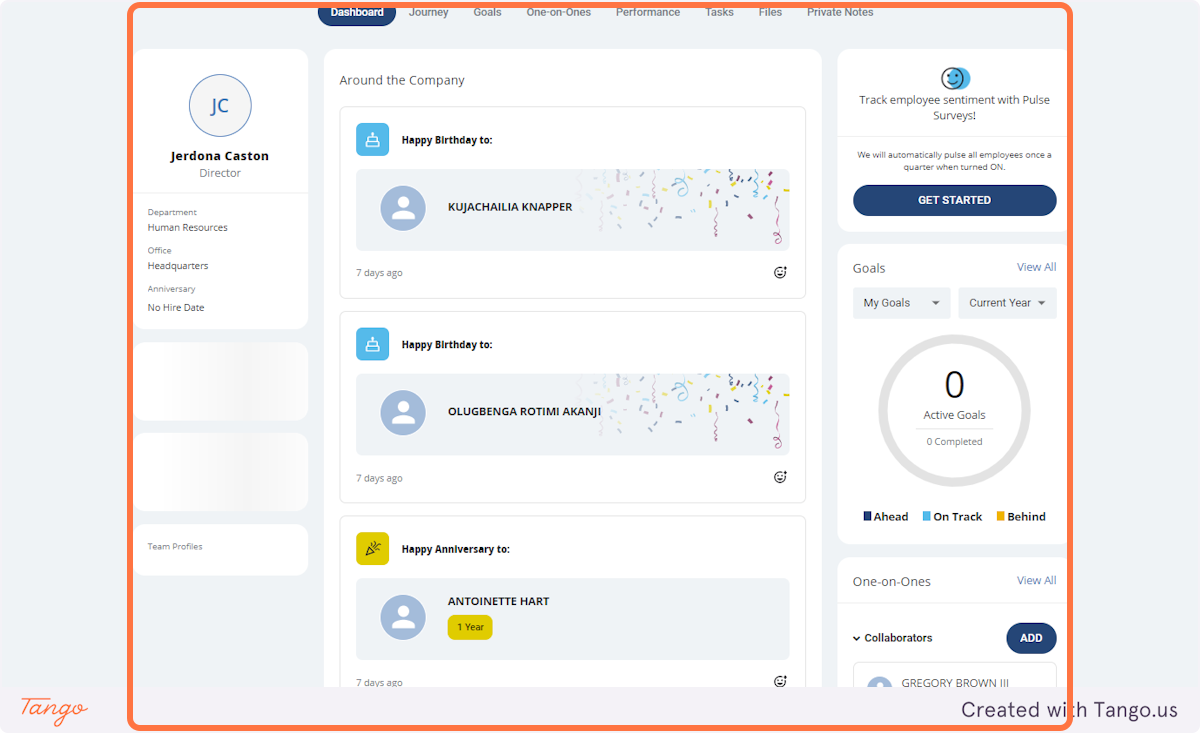
5. Click on Dashboard
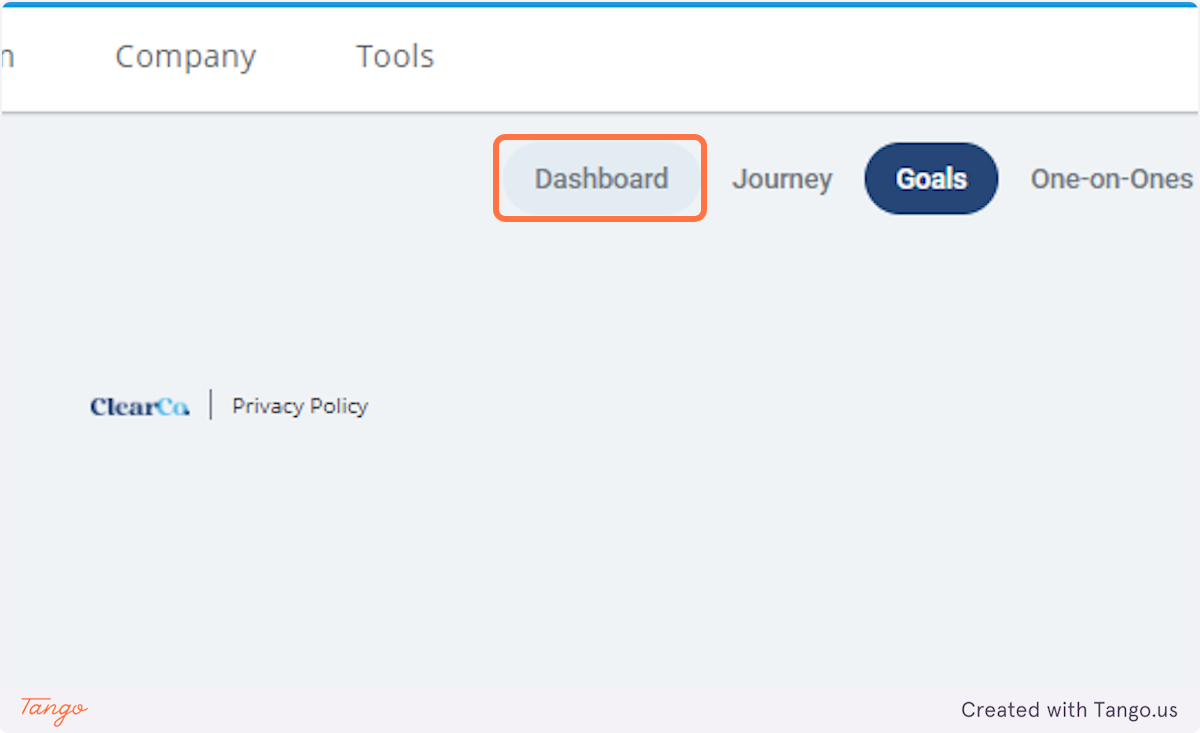
6. Click on Goals.
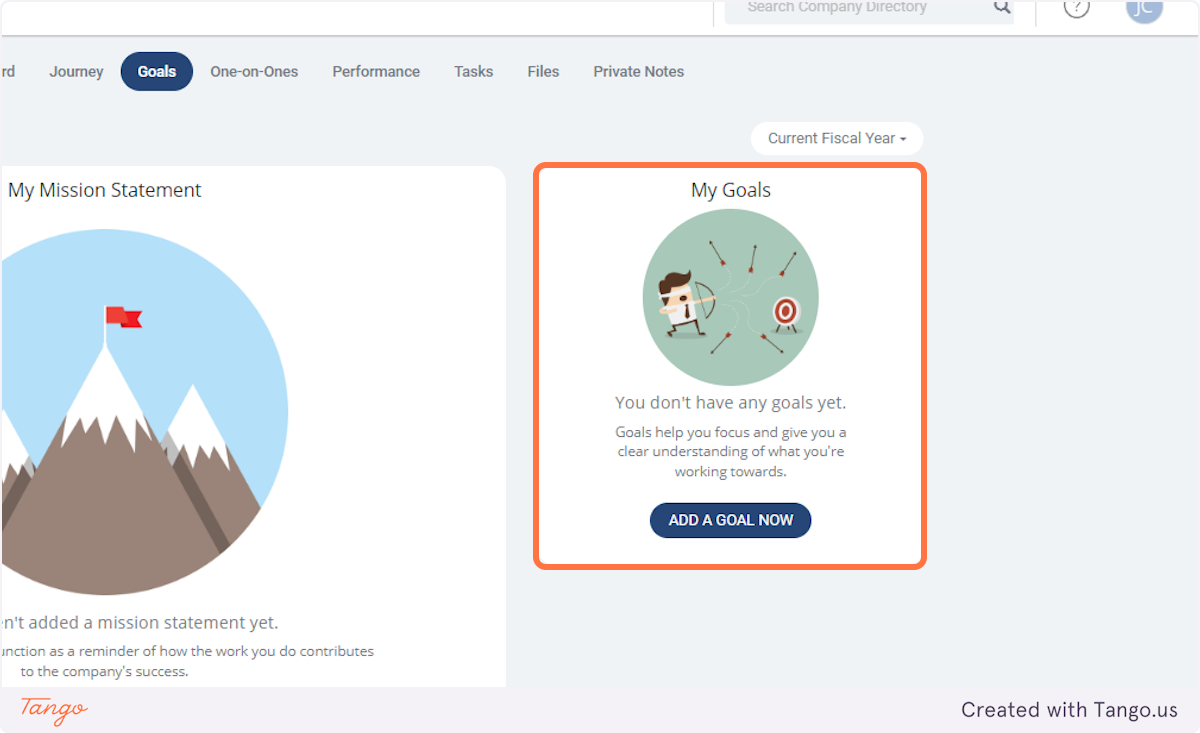
7. In this section you can add Performance Goals.
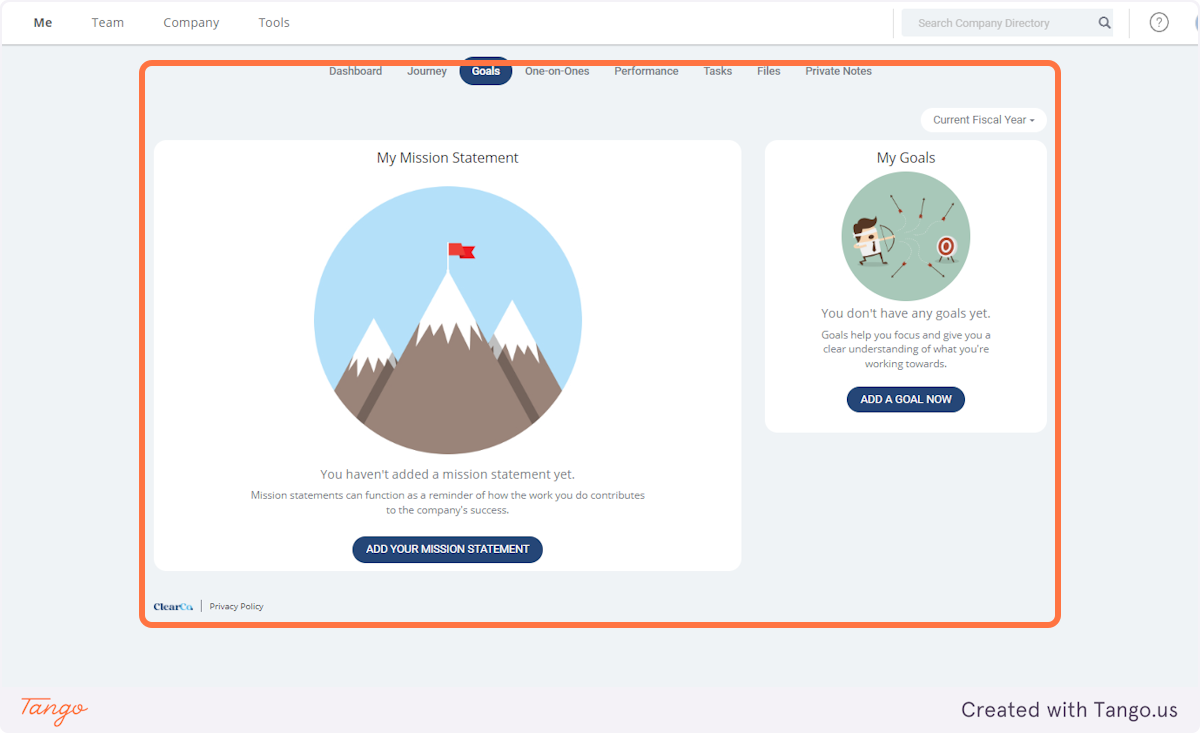
8. Click on My Goals…
9. Click on ADD A GOAL NOW
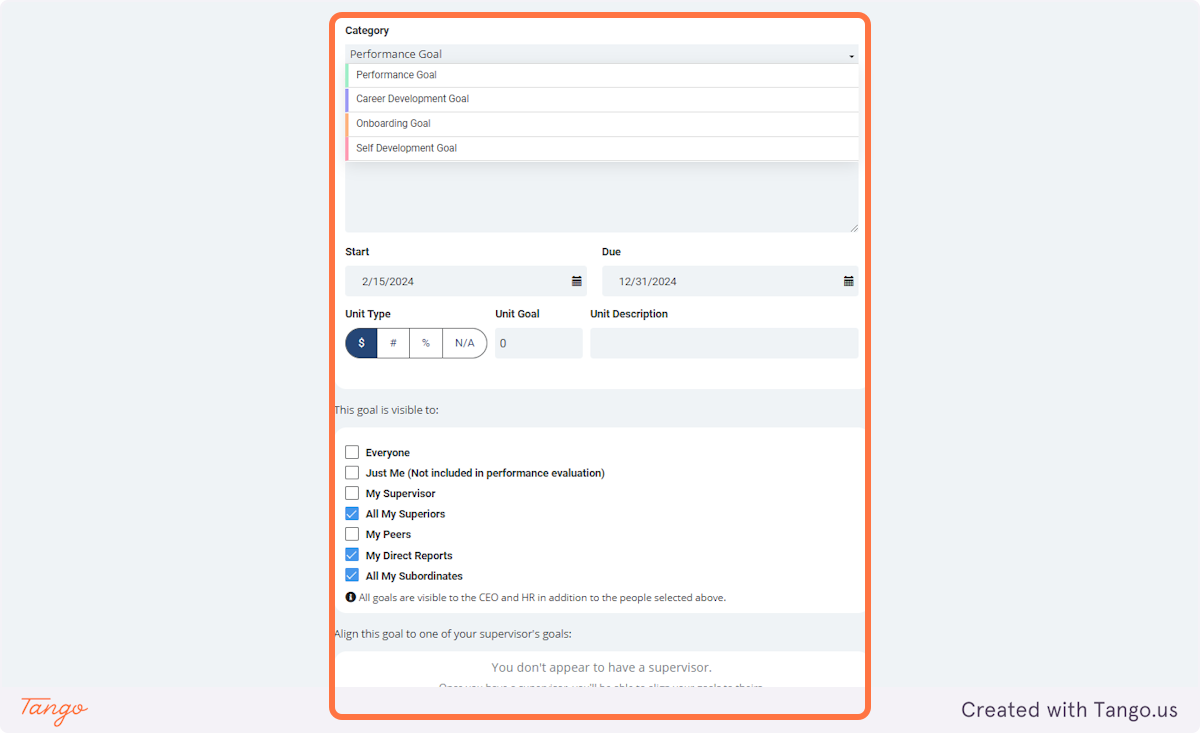
10. Click on Category to determine what type of Goal you are entering.
On this page, you will enter the name of the goal title, description, and date. Pay attention to the "This goal is visible to" section and make sure you select the appropriate audience for your specific goal.
11. Click on SAVE GOAL
Any goals that you create will appear on your Dashboard.
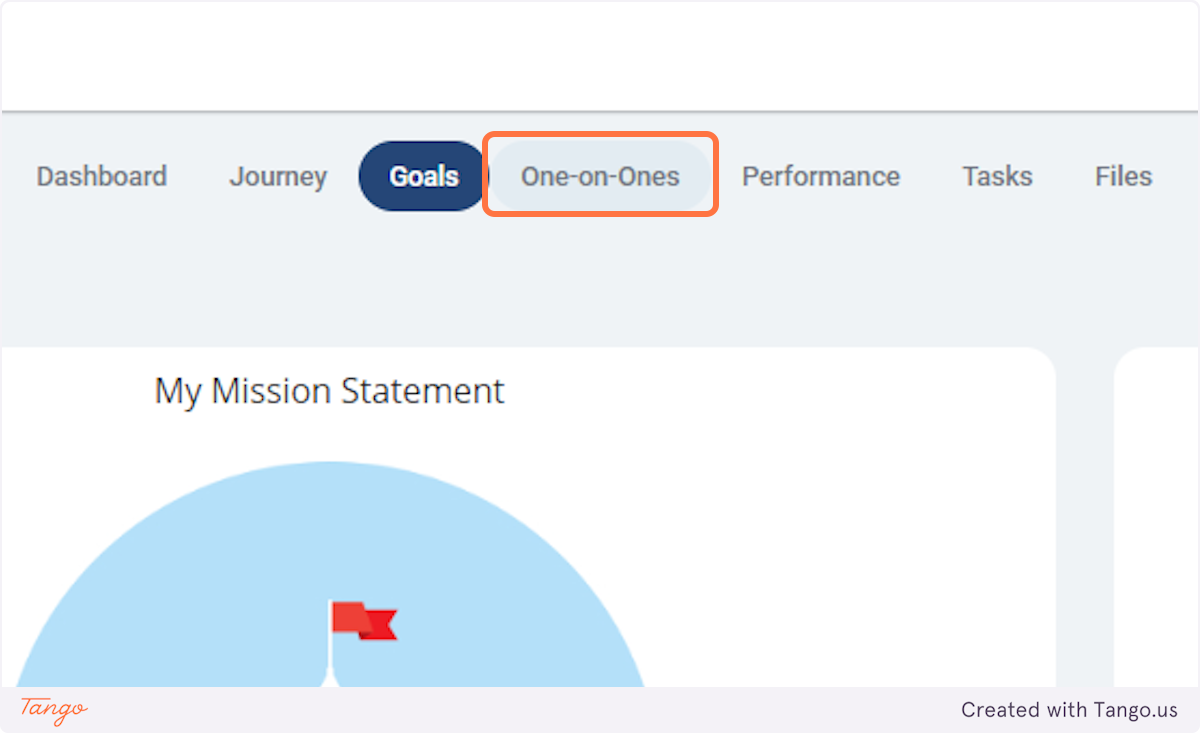
12. Click on One-on-Ones
Here, you have the opportunity to seamlessly transition your paper notes into an electronic format. This section allows you to efficiently document and track tasks discussed during your one-on-one meetings with your manager.
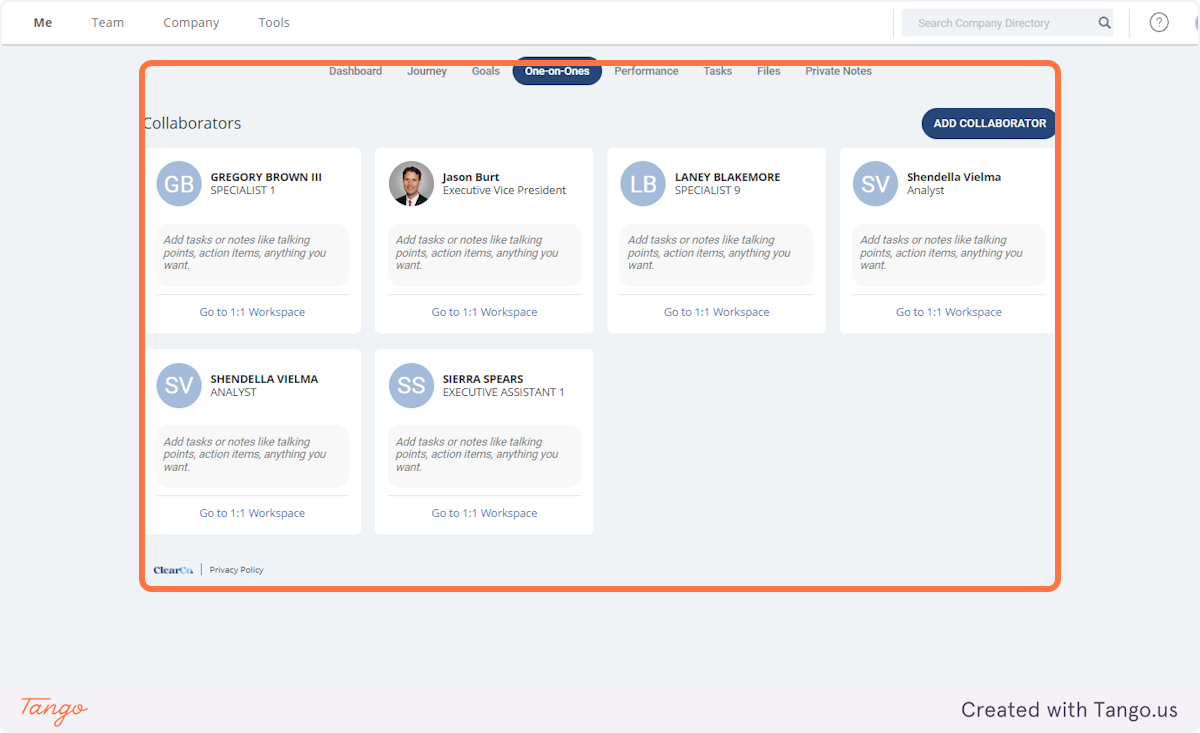
13. In this section, you are able to view each one of your direct reports. In this system, they are know as Collaborators.
In addition to documenting tasks discussed with your manager, you now have the flexibility to include employees, team members, or peers in this section. Whether you're working on a project that involves individuals from various programs or collaborating with team members on specific tasks, you can easily track the progression of each task with your collaborators.
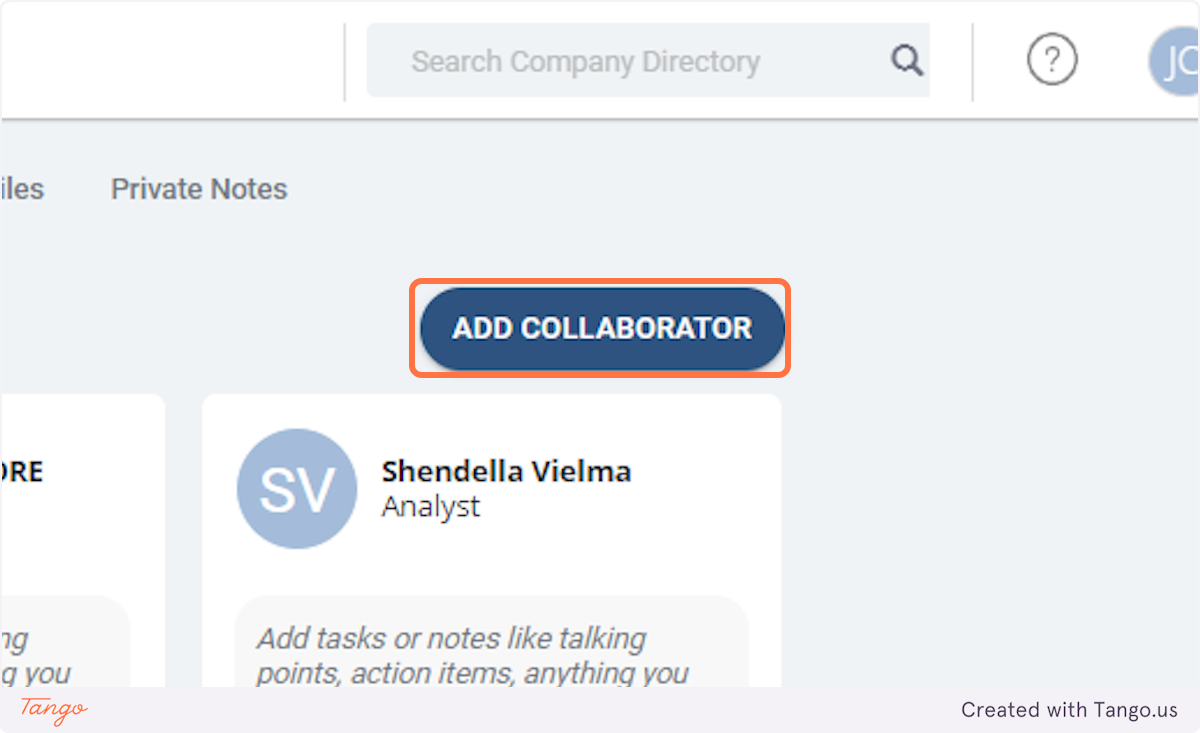
14. Click on ADD COLLABORATOR
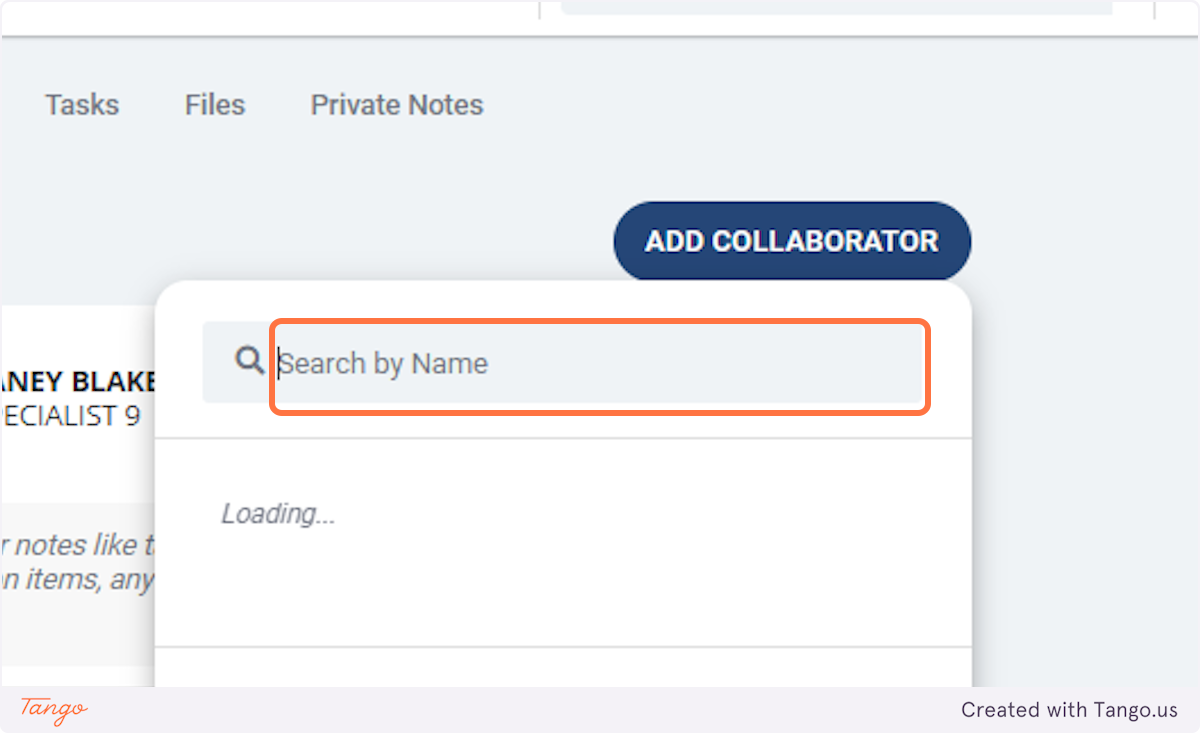
15. Search by Name and select ADD.
That employee will now be visible in your view.
16. Next, we will discuss adding tasks to the one-on-one section.
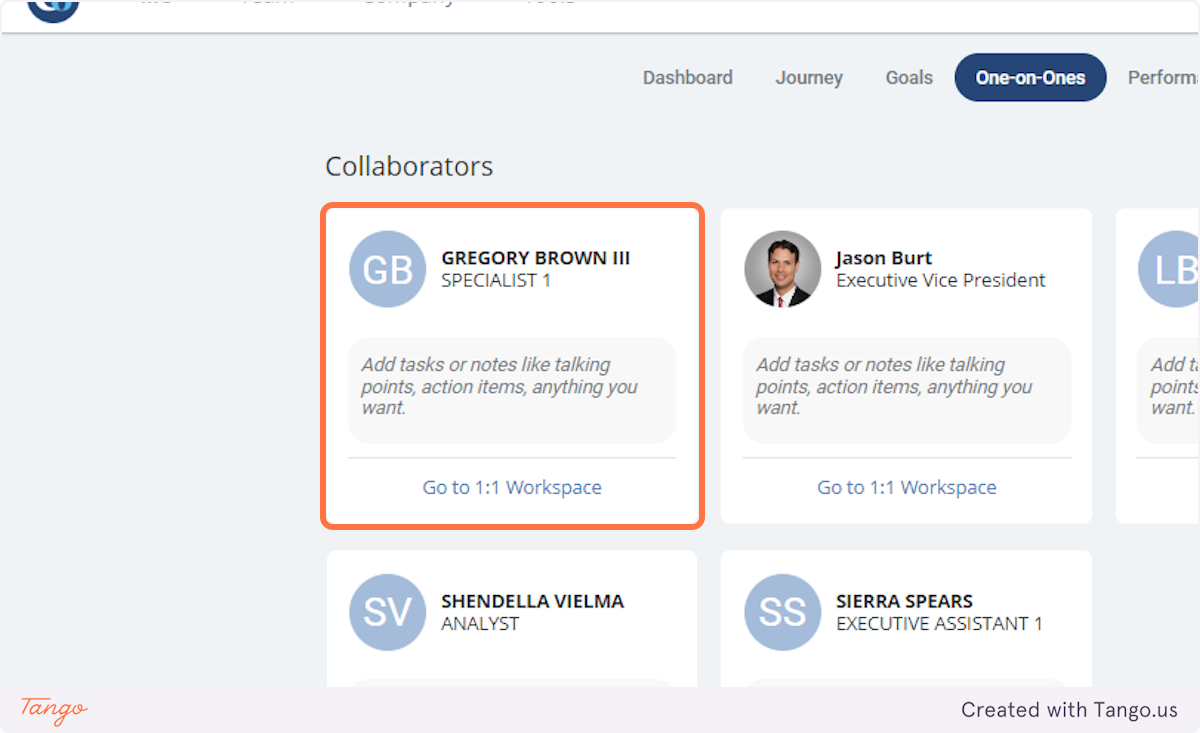
17. Find the employee you wish to "collaborate" with. Click on Go to 1:1 Workspace
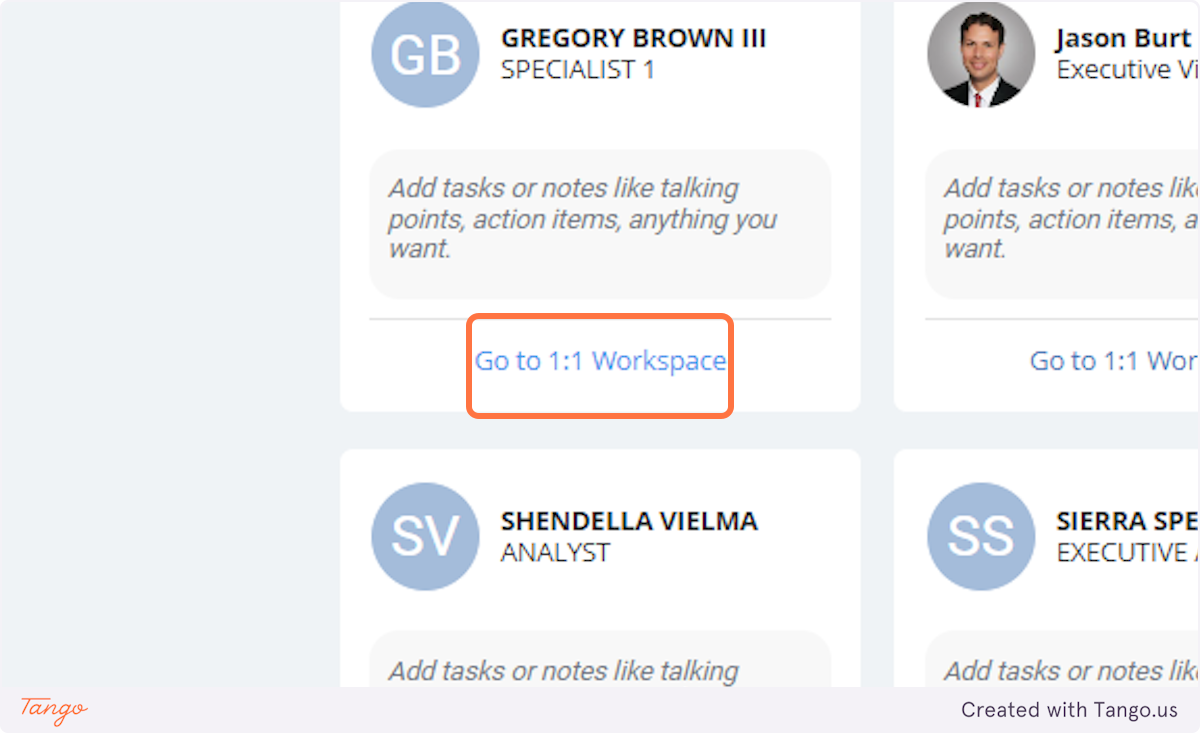
18. Simply add the task in the comment box.
Please note, that I have elected to share the note with the employee. Once saved it will appear in the employee's one-on-one section.
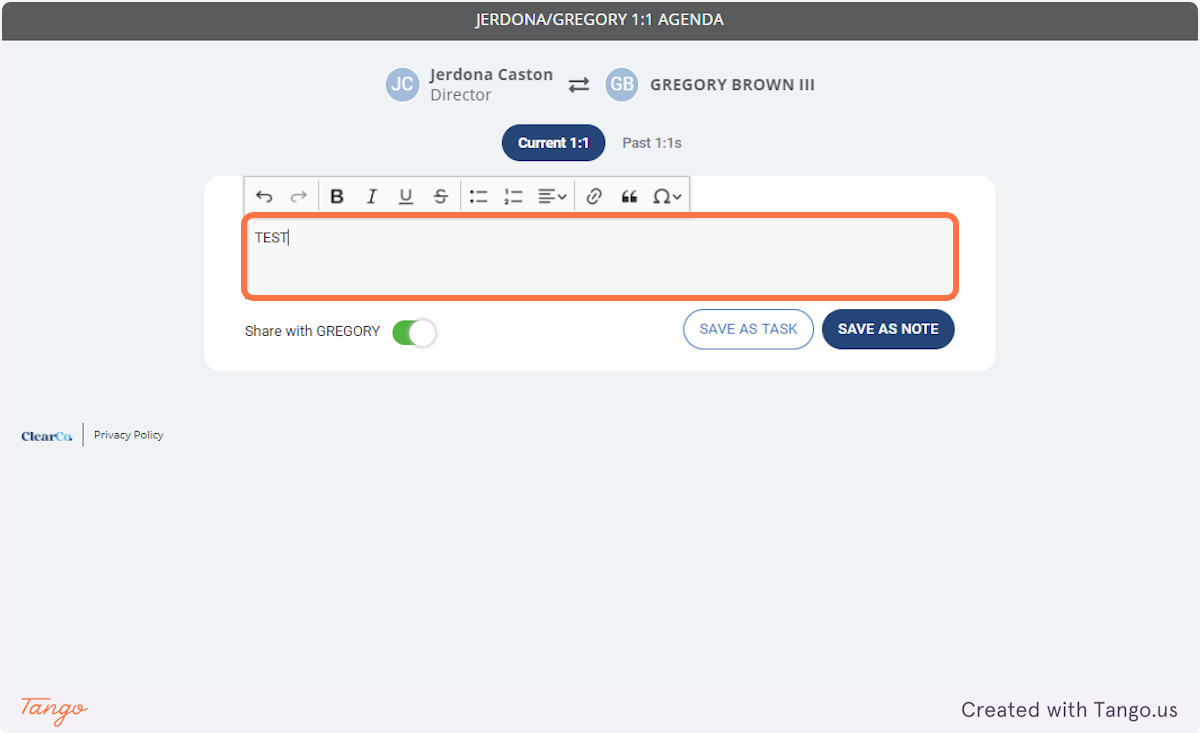
19. Click on SAVE AS TASK
20. Assign the task to the employee.
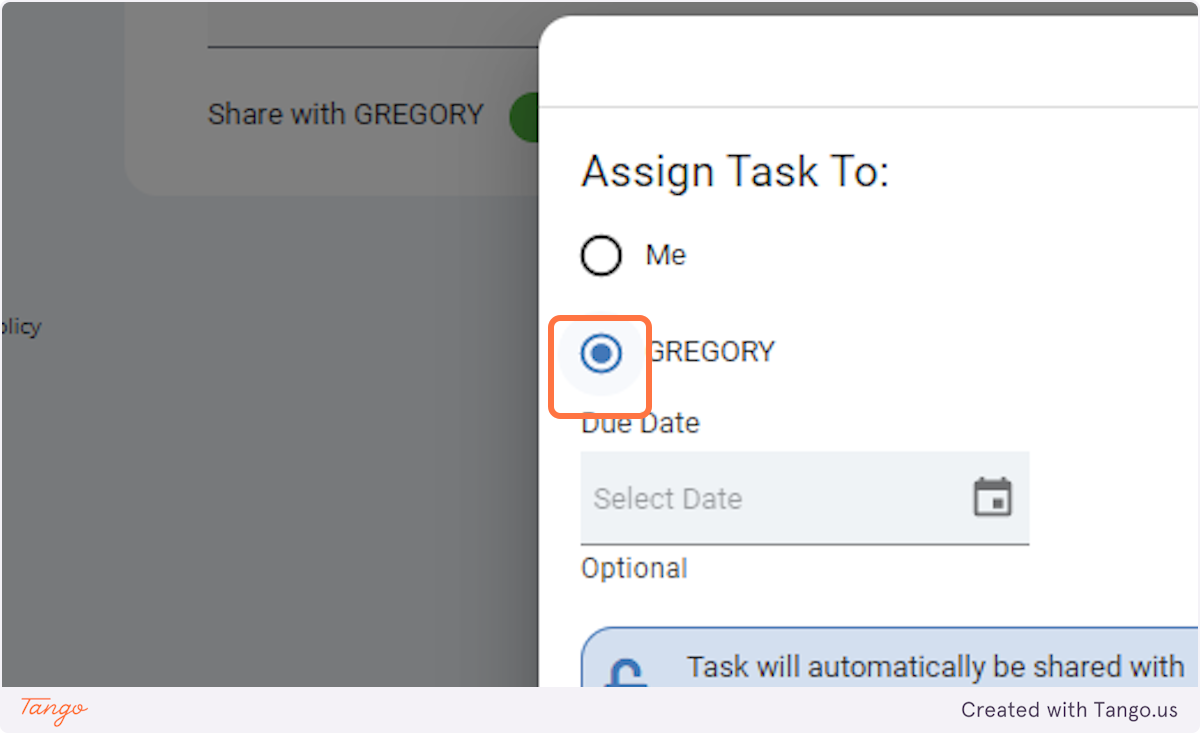
21. Click on Choose date
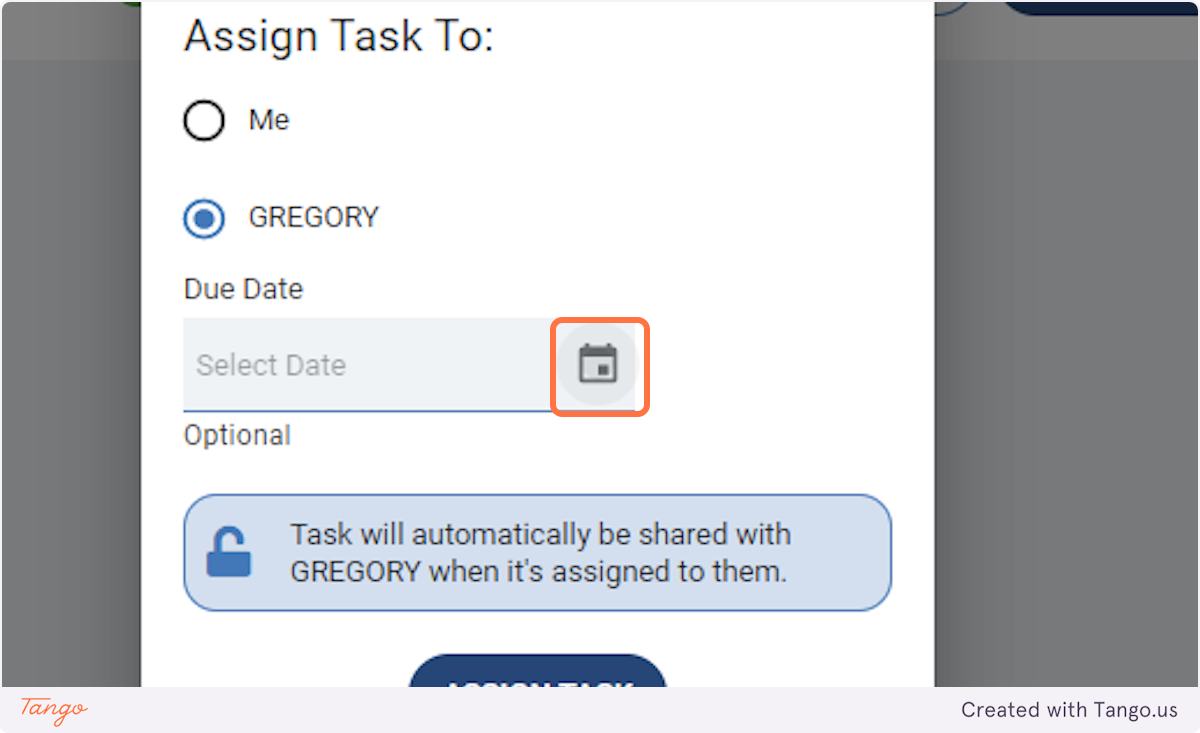
22. Click on ASSIGN TASK
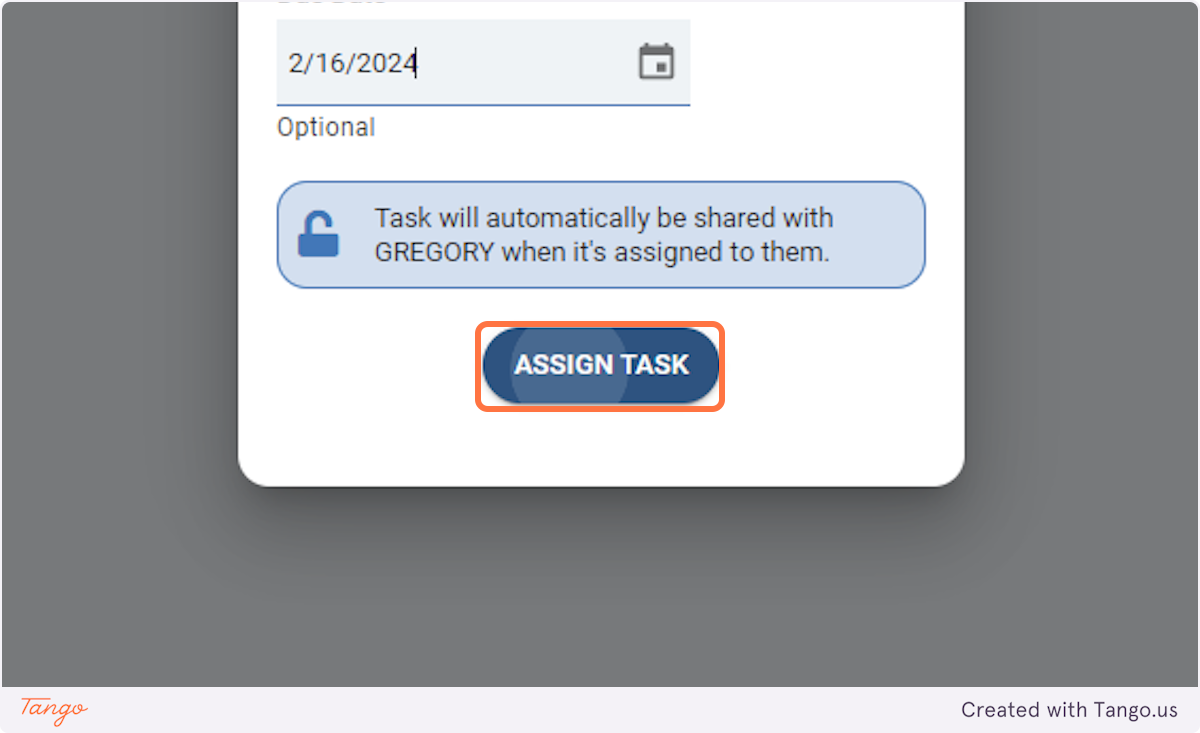
23. You have officially assigned a task.
Tasks will be assigned directly to the employee and will appear on their profile. However, it's important to note that employees will not receive a notification when a task has been assigned to them. It is essential for managers and team members to communicate effectively about task assignments and expectations to ensure clarity and accountability.
To show that a task is completed, select the check box next to the task and it will disappear from your Current 1:1 and appear in Past 1:1.
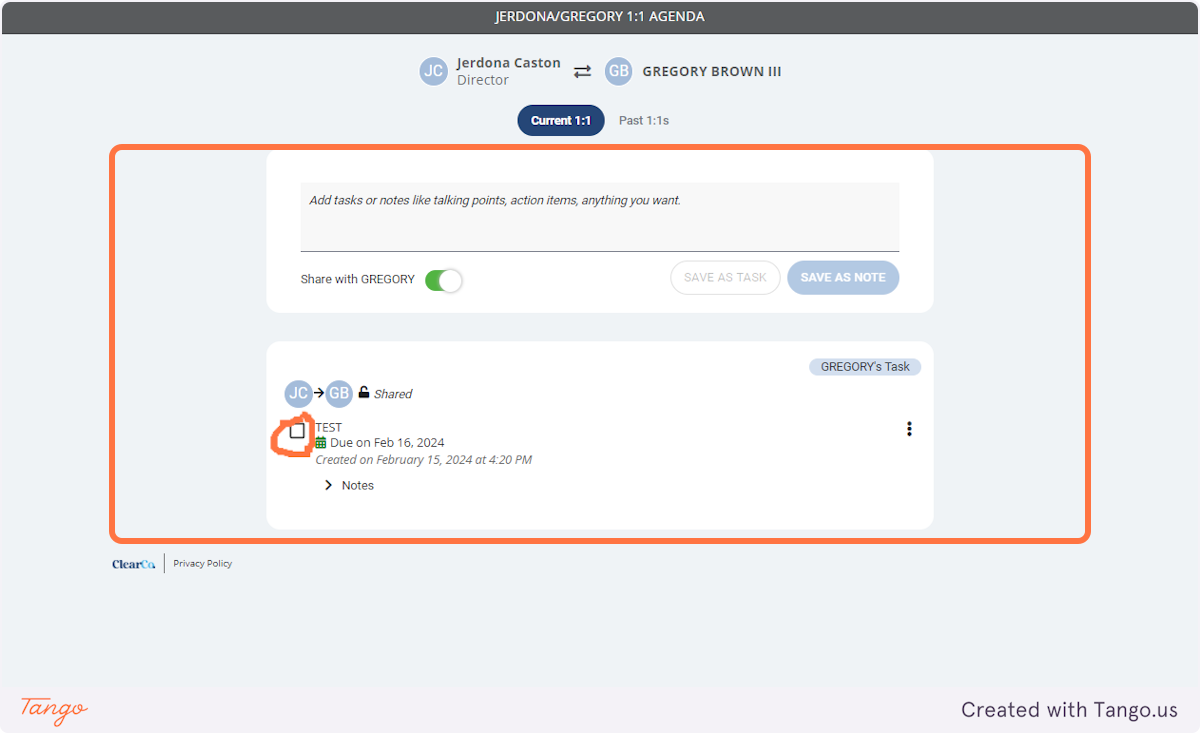
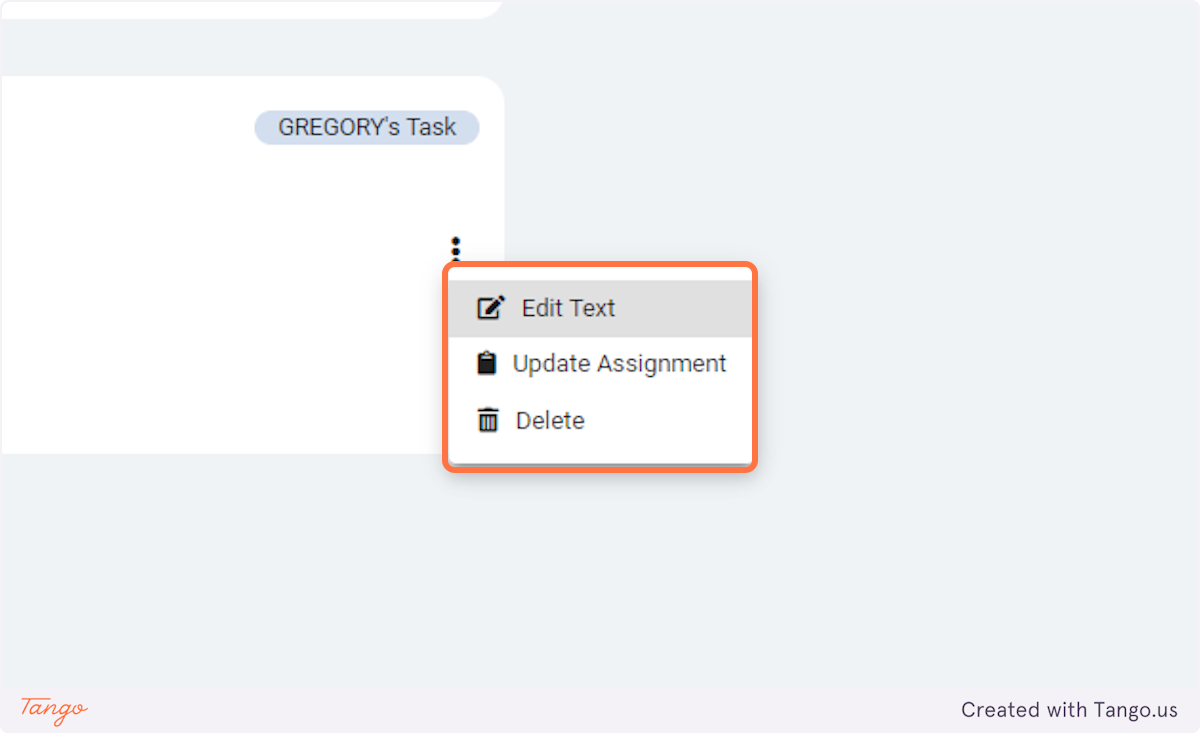
24. Once a task is submitted, you may edit, update the assignment or delete.
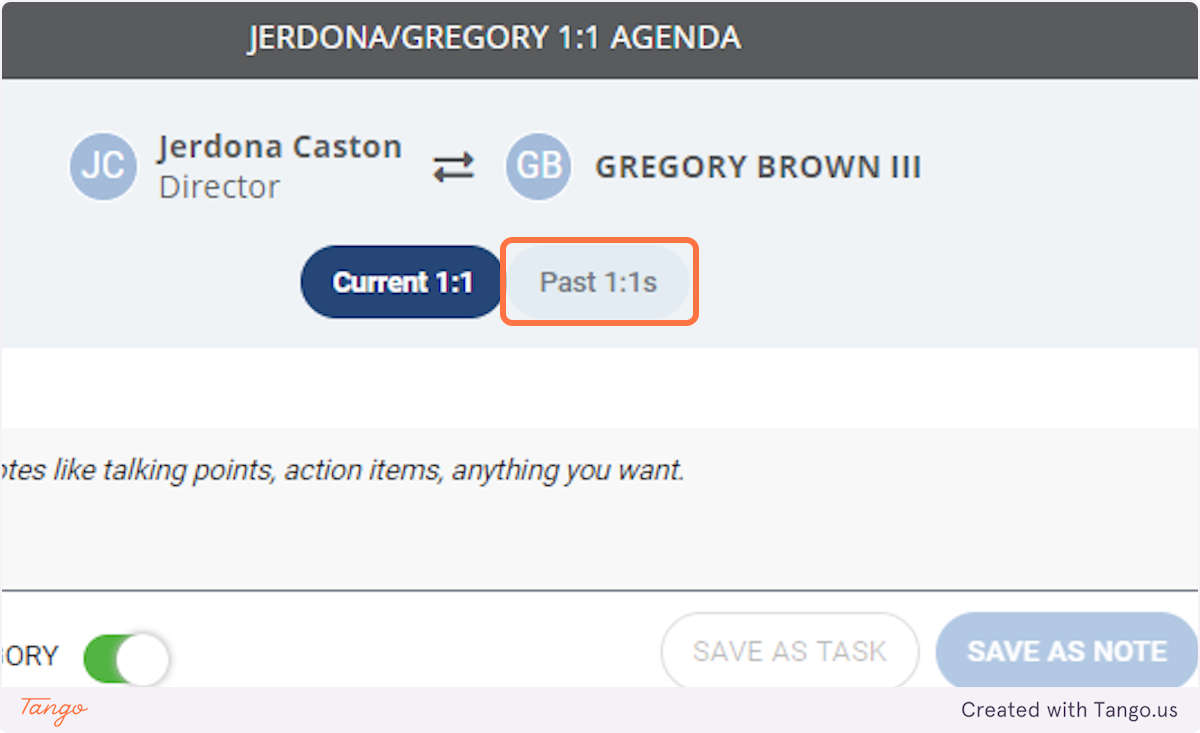
25. Click on Past 1:1s
This will display a comprehensive list of all the tasks that have been assigned to you and completed.
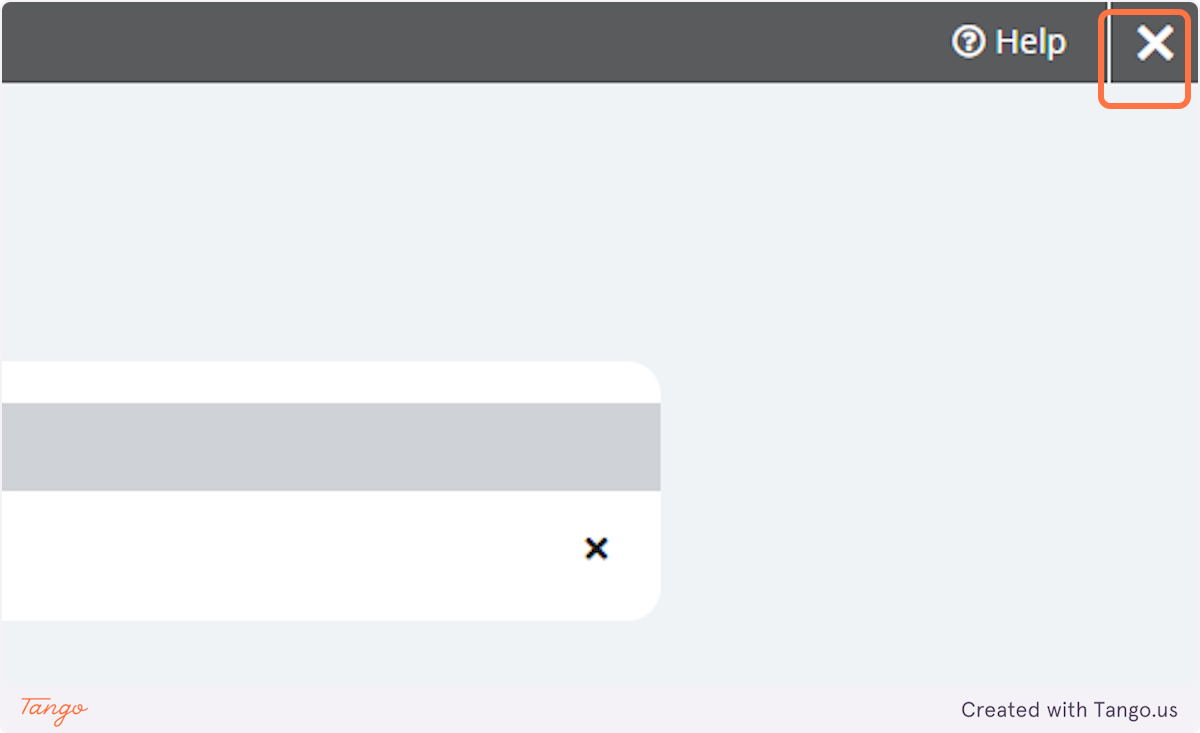
26. Click on the "X" to go back to the Dashboard.
27. Click on Performance
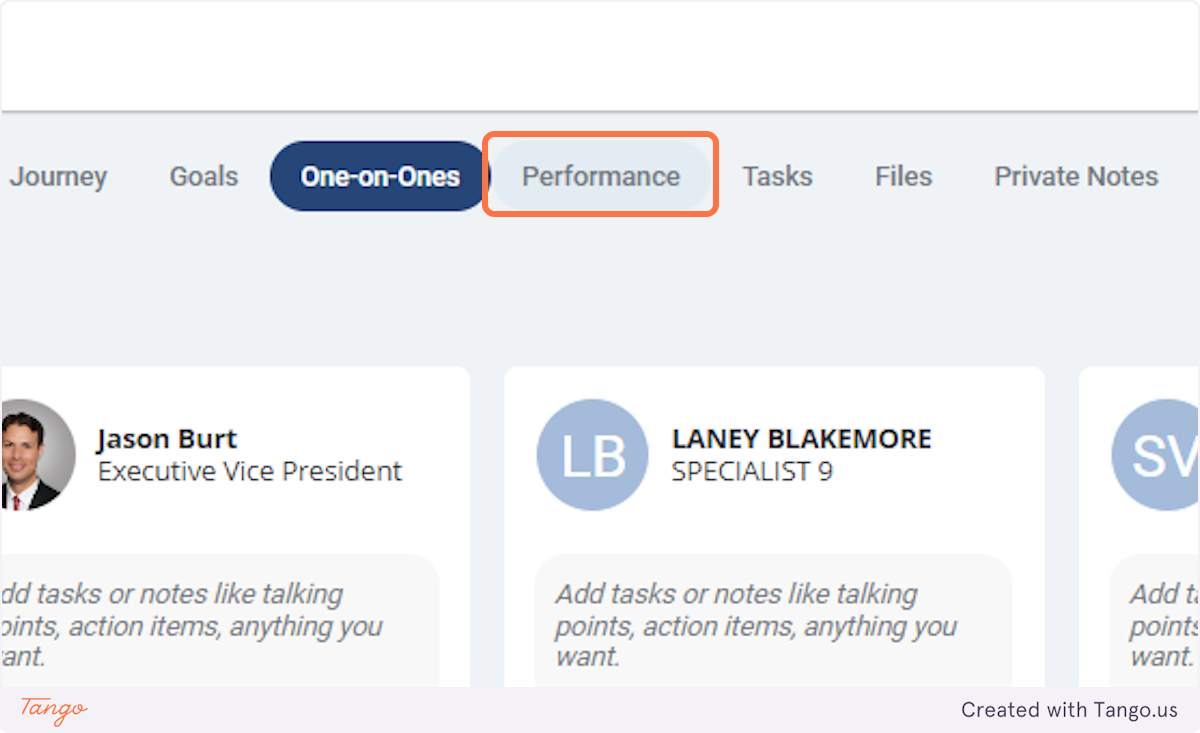
28. This section will show all things related to Performance Reviews.
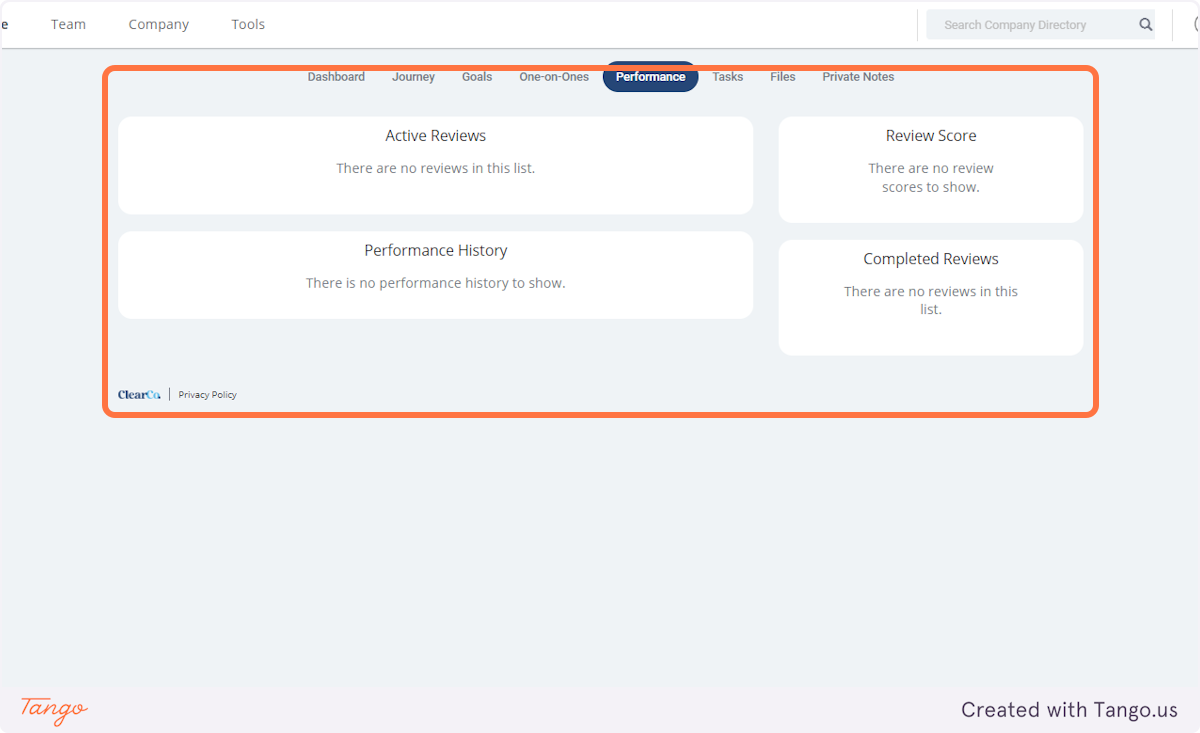
29. Click on Tasks
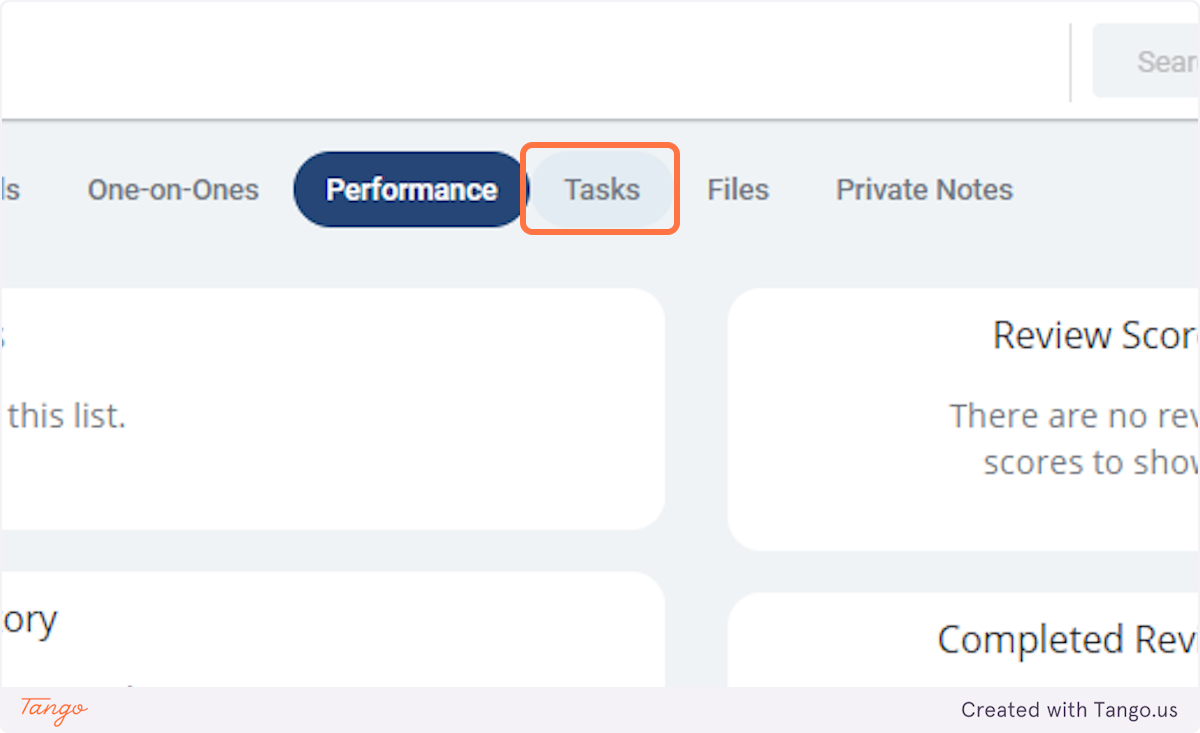
30. Click on Tasks
You can use tasks as reminders to complete specific actions or activities.
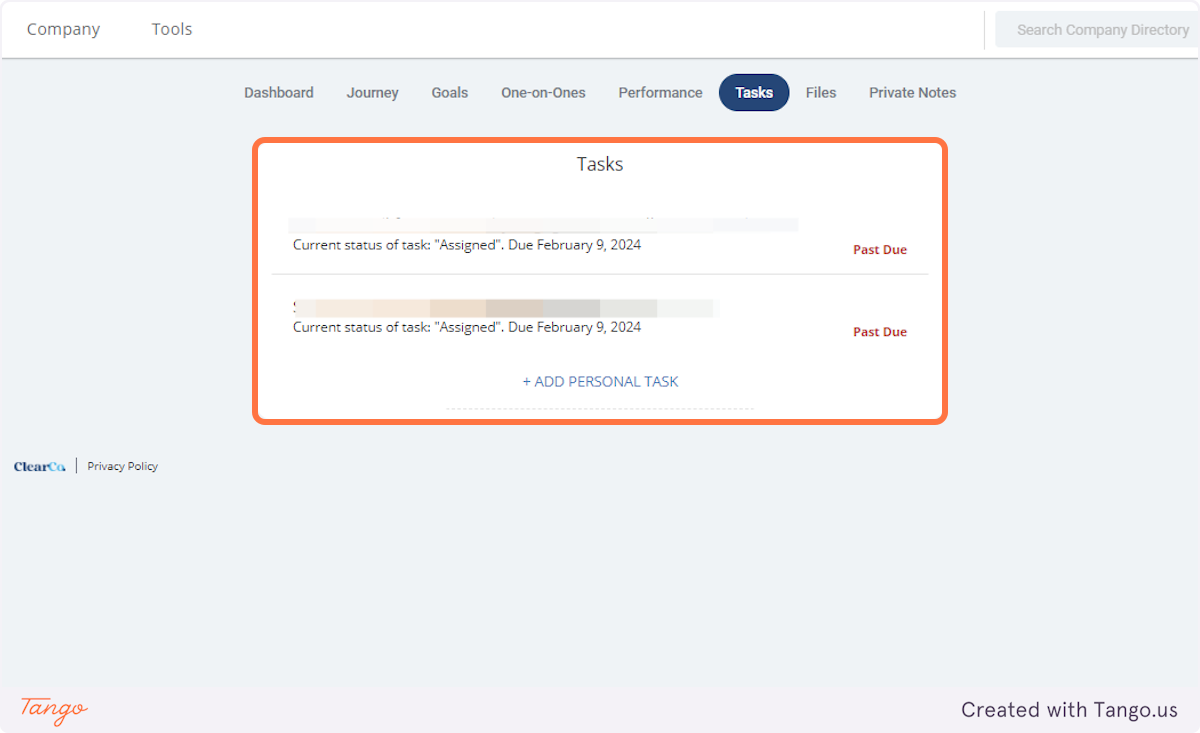
31. Click on Files
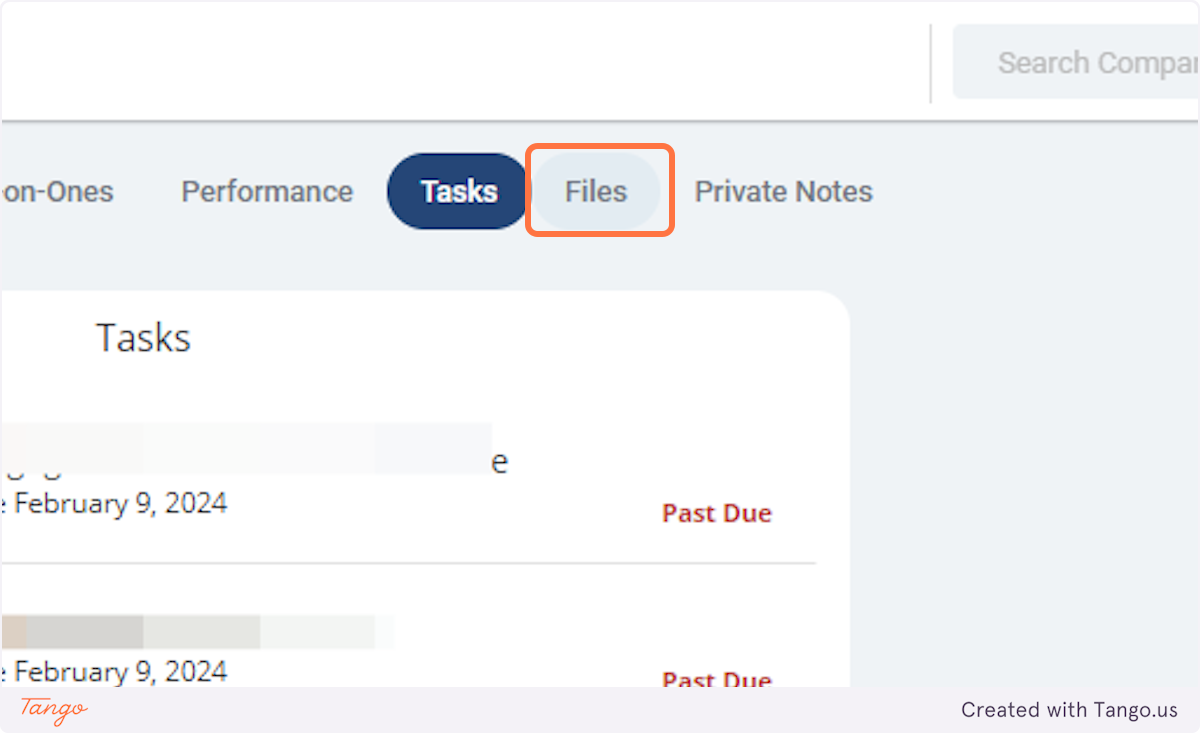
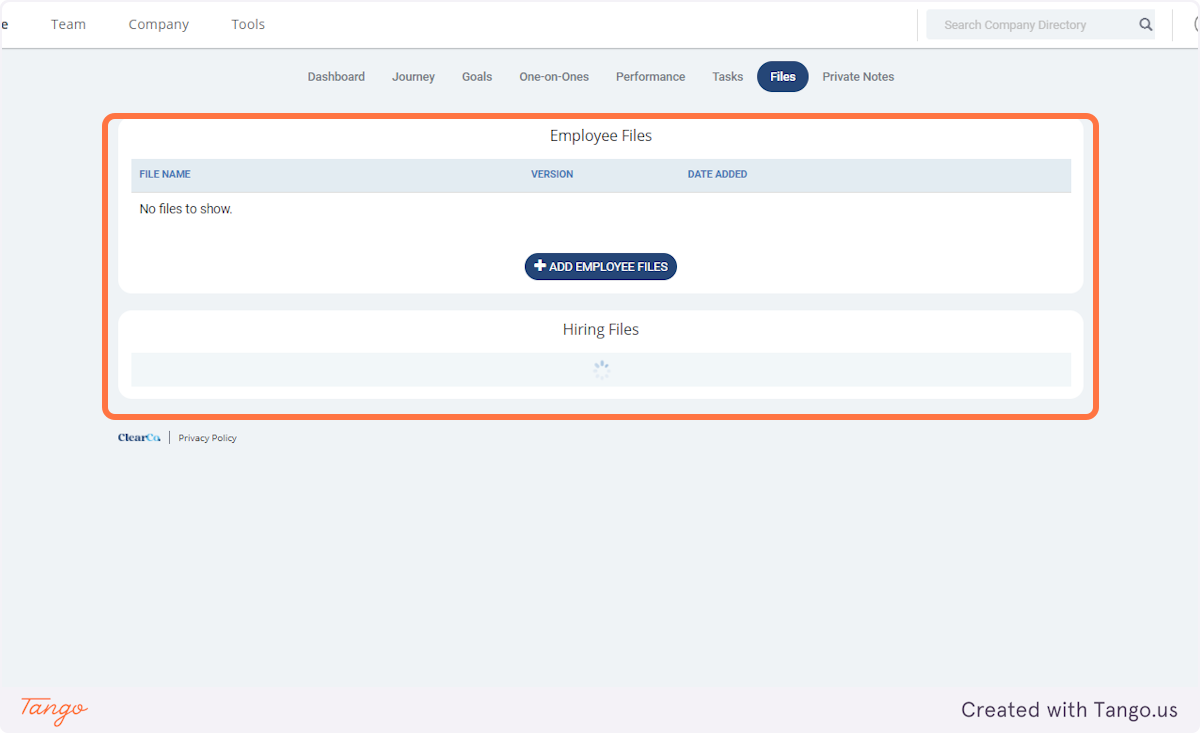
32. Click on Employee Files
You can utilize the Employee File section to capture any recognition or awards that employees may receive for their outstanding performance.
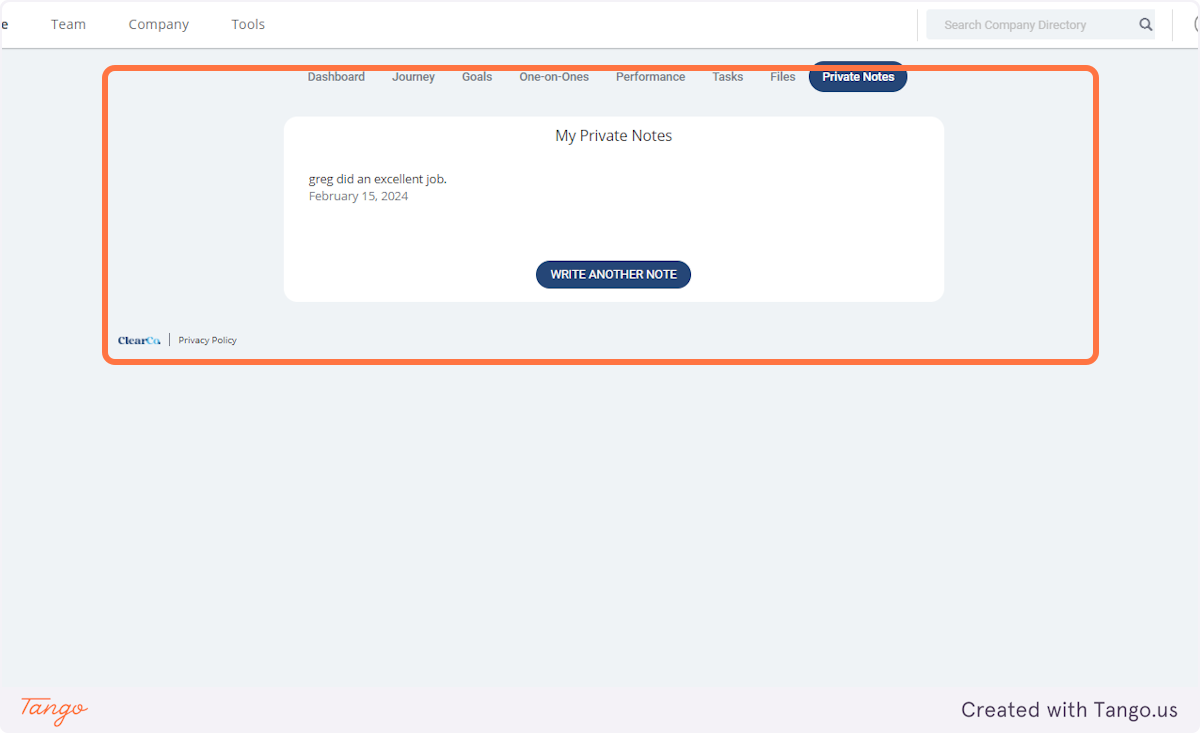
33. Click on Private Notes
Private notes provide you with the capability to jot down information that is meant exclusively for your eyes. These notes are entirely confidential, ensuring that only you have access to them, allowing for discreet documentation of personal thoughts, reminders, or sensitive information.
